Tuesday 30 December 2014

Crathorne Bug - dots

Split stitch around the dot
Traditionally the needle is brought up through the previous stitch as it creates less bulk on the back of the work, but this scale is so small, it is possible to bring the needle up in front of the previous stitch and then take down through the stitch - up to you!
Keep the split stitch small as it is such a small area
Begin the satin stitch from the middle bringing the needle up outside of the split stitch, and down over the other side of the split stitch.  The direction of the satin stitch is parallel to that of the oversewing of the trailing on all four sides. 
Satin stitch is worked out from the middle on both sides 
Difficult shape to satin stitch as it is so small - so keep stitches compact and very close together.  
Keep the tension firm

All worked with DMC Col.3782 stranded cotton

Crathorne Bug - finishing trailing

Take core thread through to the back of the work at the end of the trailing
Fold core thread back on itself, and over sew ½ inch or 2cm, catching the backing fabric
Cut away the remaining thread

Thursday 25 December 2014

Crathorne Bug - continuing trailing, and corners

At the end of the line, take the core thread through to the back of the work.
Then bring the core thread up at the beginning of the next line, and continue trailing.
Close up
Corner - Take the core thread down through the fabric at the end of the line.
Then bring the the core thread up at the beginning of the next line at the corner, and continue trailing as before.
Trail over the trailing, at the corner to produce a crossed corner.

Tuesday 23 December 2014

Crathorne Bug - trailing

starting trailing - pin is the starting point of the design
needle up
needle up close up
needle down
needle down close up

Trailing is a form of couching, where a core thread is oversewn completely using another thread in a needle.  Use DMC Col.3782 stranded cotton for the trailing, five strands of this colour for the core, and one strand for oversewing.

To give the trailing some tension, knot the core thread, and bring the thread up a good inch or so away from the starting point.  The starting point is the beginning of the design, or where the pin is placed to show YOU, where I started trailing - image 1.

Secure the single thread to the fabric, using a No. 9 or 10 crewel embroidery needle.  Then start trailing. 

Tips on trailing - 
  • Make sure there is always some tension on the core thread.  I am right handed, so I use my left hand to hold the core thread, whilst I stitch with my right.  Whatever works for you!
  • Bring the needle up on the design line, oversewing over the core thread, taking the needle back down on the design line.  Completely cover the core thread, encasing it.  No core thread should show.
  • When I bring the needle up - I move the core thread to the side so I know I am bringing the needle up on the line.
  • When I take the needle back into the fabric - I move the core thread in the opposite direction so I can see the design line.
  • All the time, I am holding and keeping tension on the core thread.  This keeps the line of trailing very fine.
  • Don't forget to keep good tension on the single couching thread too!
  • Finally, ensure your working thread retains its sheen.  Finish and start a new thread if it looks worn as it travels through the fabric many times.
This technique looks great when worked well, but may take a little time requiring some practice.  My advice would be to take your time and not to rush it.

Next post will show you what to do when you come to the end of the first line of trailing. 

Apologies for not blogging sooner.  I mentioned in a previous post that I may have a slow start as I have an enormous amount of work and responsibility, but I hope to work on this over the festive period, when I am less in demand and hope complete it 'very soon' before my next term of teaching begins to take hold. 

Thanks for your patience if you have been waiting.

Saturday 29 November 2014

Crathorne Bug - completing block shading

bringing the needle up just inside the previous block

taking the needle down just over the line of the next block

taper stitches at the sides to fit the shape

split stitch the final block, by bringing the needle up in the previous stitch

complete!

All using one stranded of stranded cotton, pale colour DMC 822; pale blue DMC 927; mid blue DMC 926; dark blue DMC 376, and a number 9 crewel embroidery needle.

Tips - Keep the stitches 'very' close together, as this will give a finer effect.  Also, keep the stitches firm, not too loose. Always work from the previous row, 'not' into it.

Saturday 15 November 2014

Crathorne Bug - starting a thread, and block shading

4. Starting a thread - use a 'waste' knot, and work two little back stitches to secure the thread.  Once the thread is secured, the knot can be removed.

5. Start in the middle with the palest blue thread DMC Col.927.  Work the thread just over the line by an ⅛" of an inch or 2mm.
6. Fill in the whole block, working out from the middle on both sides, to help keep the direction straight.  The shape of the block widens at the bottom, and therefore, it is necessary to add in a shorter stitch to retain the shape.
7. Next colour - DMC Col.822, an off white colour.  Work from the middle of the first colour, bringing the needle up on the original design line.  Work the block in the same way, middle out on both sides, and work slightly over the next line.  Keep the stitches very close together for the best result!

 8. Again work the stitches to fit the shape on each side.

This design has been worked using a No.10 crewel embroidery needle, or it is possible to use a 9 or 8.

Thursday 13 November 2014

Crathorne Bug - long and short applying silk fabric

design transferred onto silk fabric and adhered to a cotton (calico-UK; muslin- USA) base

long and short stitch to secure

Here we go - 

1. Transfer the design to the background fabric of your choice.  I am using an off-white silk dupion

2. I adhered the silk fabric to the base backing fabric using a fusible interfacing or Bondaweb

3. Then, long and short stitch the silk fabric to the base fabric using 'long and short' stitch.  The stitch maybe a feature of the whole design, so try to work as evenly as possible.  I used DMC stranded cotton Col. 644, a pale grey colour.

Monday 3 November 2014

Crathorne Bug - design and colour

Design
Colour ways
Stitch ideas

Colours
I was due to teach this design to a needlework touring group on the 1st October 2014 in Crathorne Hall Hotel in Yarm, North Yorkshire, except we had to evacuate as there was a fire in the roof, so I never actually starting teaching.

I promised the group that I would blog the working of the design once they were back home again (Australia, New Zealand, USA) - so here we go . . .

It may take me a little while to get going as I am mid-term with a load of students with day to day admin, but I will get there.

Above is the design, and my working drawings, and colour ideas.  


Saturday 1 November 2014

Linear Contemporary Whitework

free style pulled work, stem stitch, herringbone stitch, woven silk chiffon, eyelets, running stitch, back stitch, hem stitching, free style pulled work, hem stitching

in more detail

 students work - part 1


 students work - part 2

This is a workshop I have just taught in the Scottish Borders in Jedburgh, working on a linear whitework sampler, creating a lot of hand stitch ideas on different natural fabric surfaces, including pulled work, drawn thread work, shadow work, eyelets and surface embroidery.

The idea for me is to continue the sampler and work more ideas which may include machine embroidery, mixed media, and more traditional and contemporary hand stitching.  

I will of course do more postings on my blog as I continue to experiment and explore.

Saturday 19 July 2014

gold work contempo!


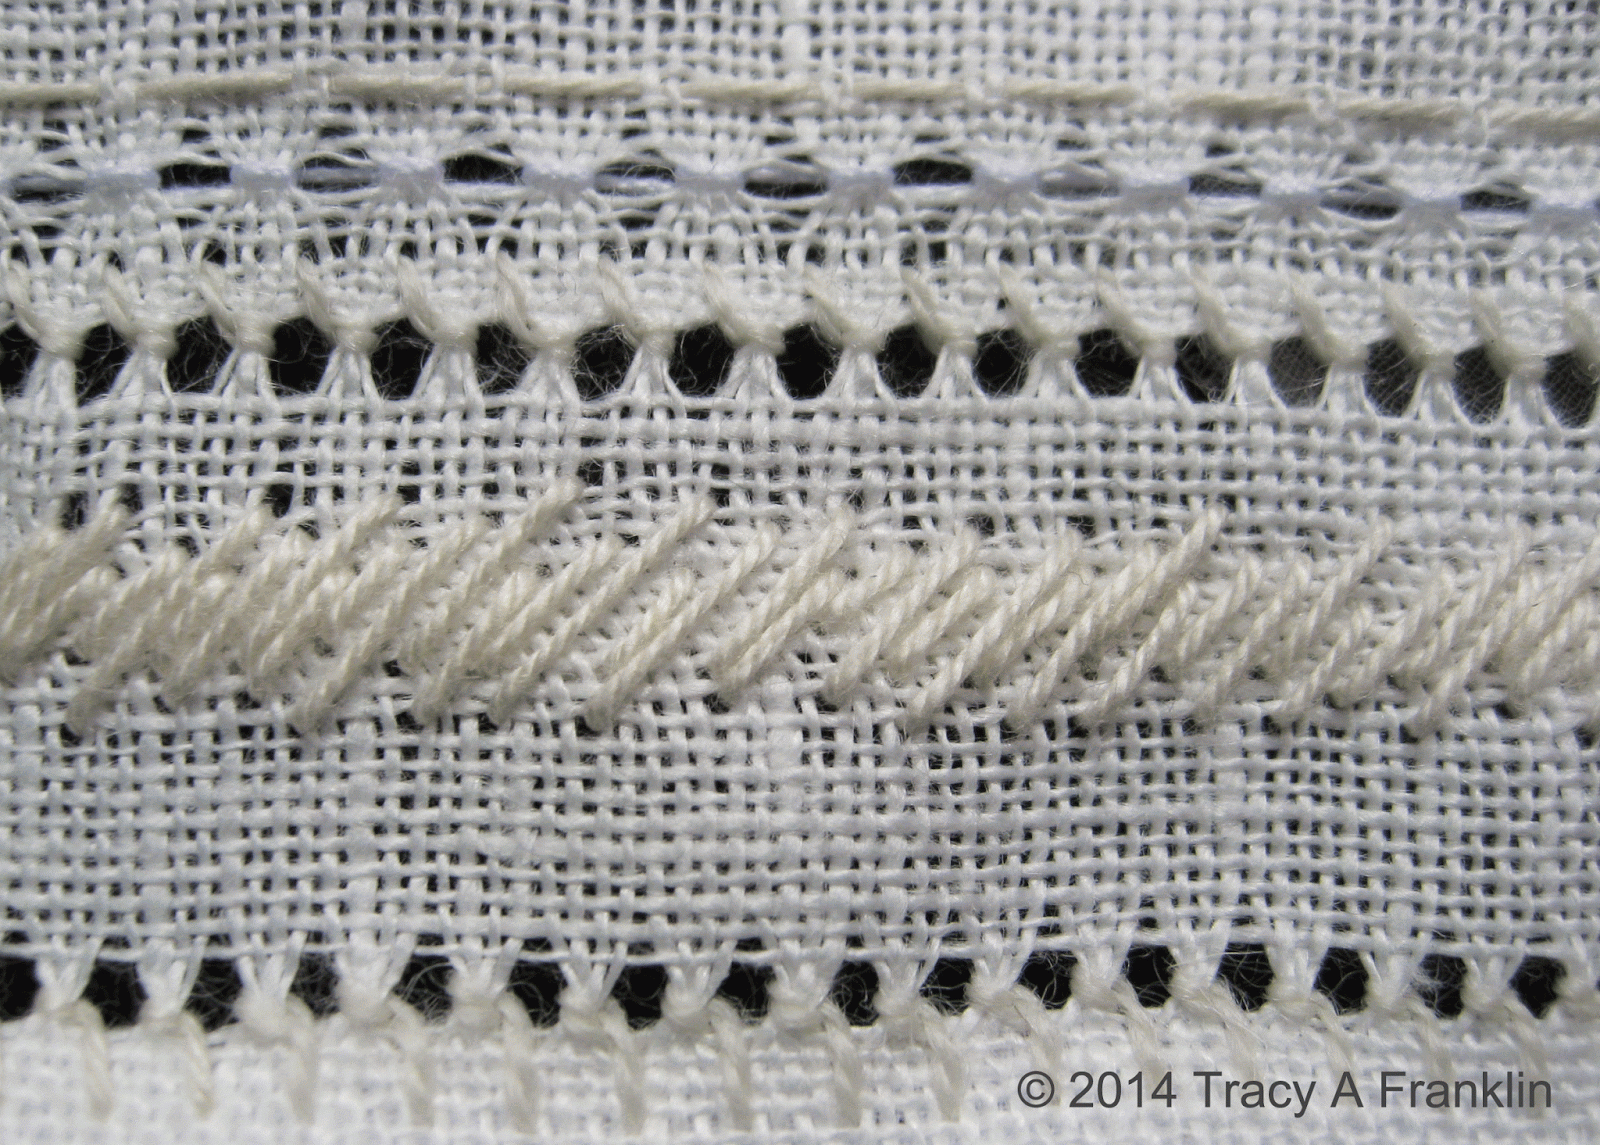
I worked this piece a couple of years ago, but as yet, I have not really published any images of it, only a glimpse!

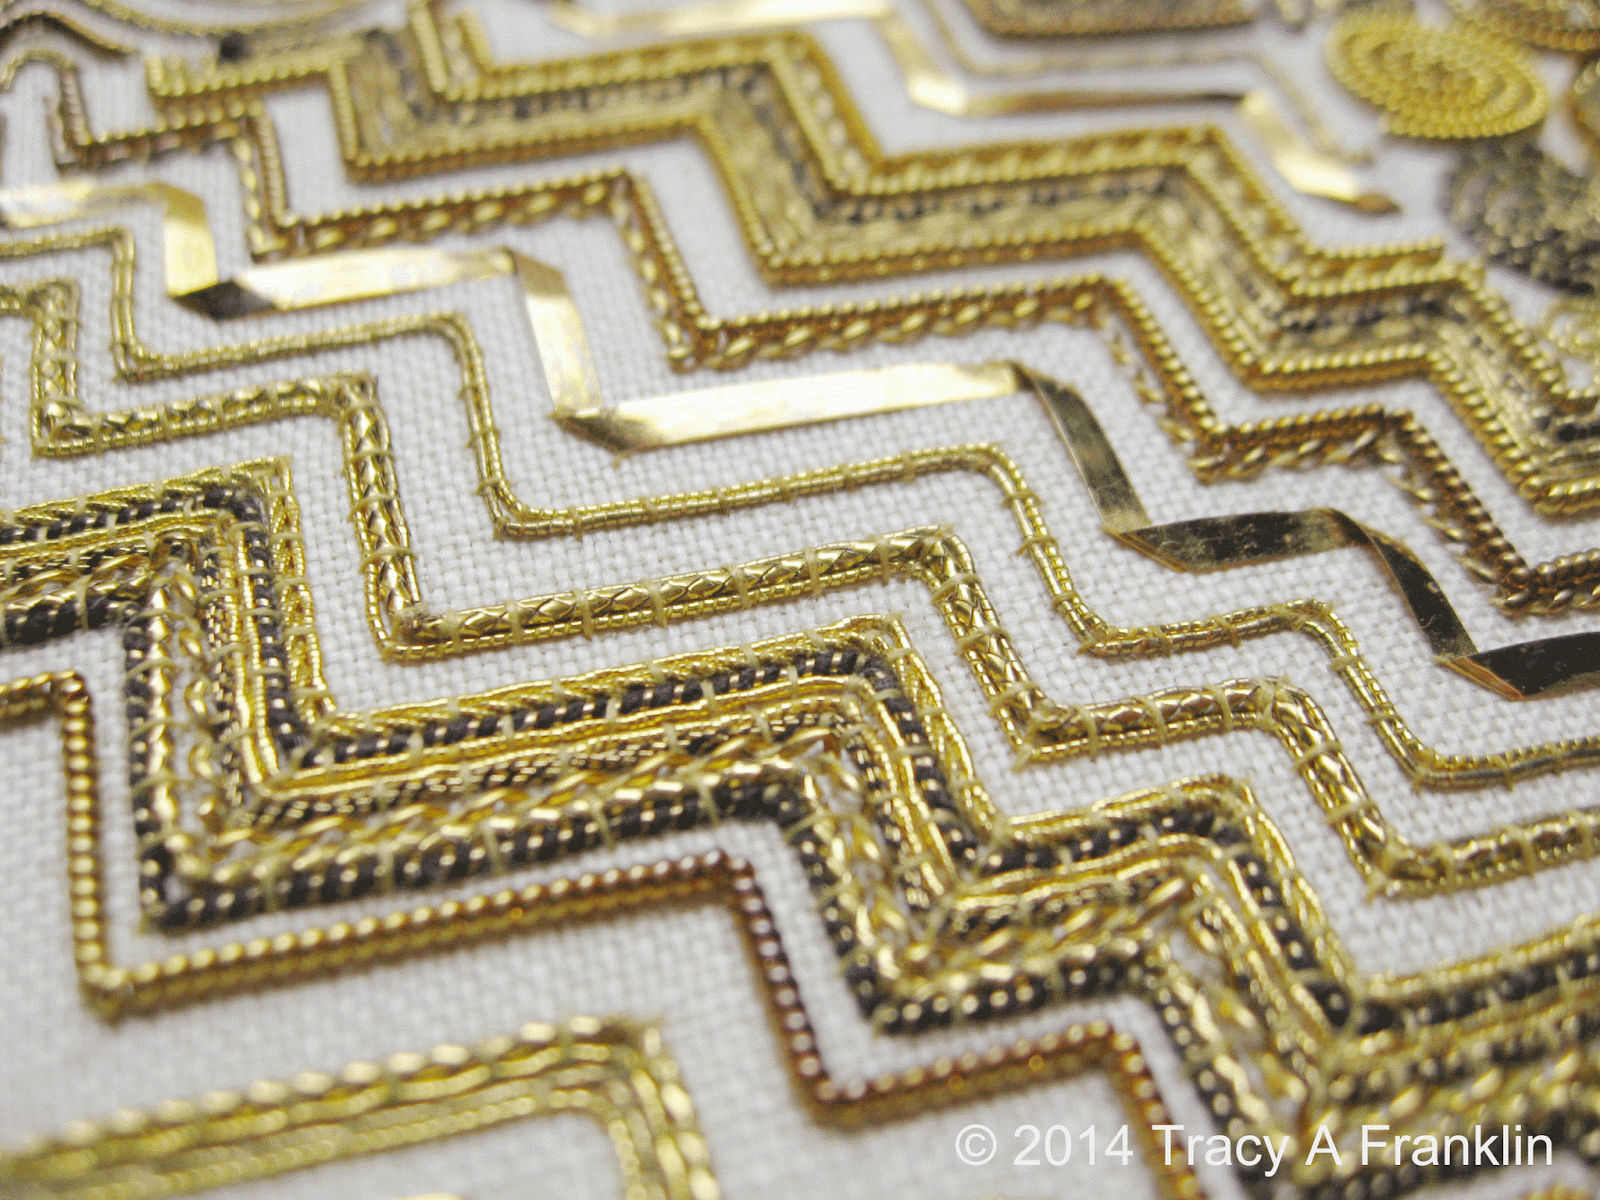
This is only part of the whole piece, based on couching and line.  My aim was to experiment with couching and work with straight lines, stepped lines, curves, spirals, zig-zags, etc.  I also decided to work the piece in black and gold threads, including tarnished threads, as I love the depth of colour they produced.

The threads include - Passing thread, Pearl purl intact and stretched, Rococo thread, Twist, Plate - crimped and upstanding.

Most of the plate I used was thrown in a bin by a student I was teaching on a residential workshop sometime ago which I lifted out and kept for myself.  She had obviously thrown it away because it was tarnished, but I loved it!

The last two images I experimented with in Photoshop.  I always slightly edit images anyway, but I thought I would experiment further and post them.

Enjoy!