Showing posts with label Working needle. Show all posts

Monday, 6 January 2014

Logo - part six . . .

Pearl purl outline . . .

. . . all around the edge

The Pearl purl, is used to edge the final piece, which is couched into place and cut to fit the shape.  Nearly finished . . .

Saturday, 4 January 2014

Logo - part five . . .


Bright check purl chip work
Centre complete!
The centre of this logo is worked with Gilt Bright check purl chip work, where the purl thread is cut into tiny little pieces and individually threaded on like a bead, and sewn on to the centre surface.  All the pieces are so small and compacted together, that it gives a very shiny sparkly appearance.

I worked this technique into the evening when the light was starting to fade, hence the mood of these images . . .   

Tuesday, 24 December 2013

Logo - part four . . .

Starting the Pearl purl from the centre bottom

Encase the thread around the Pearl purl, and make sure it clicks in between the beads on the Pearl purl

Circle complete - meeting both ends - head on
Pearl purl thread is used mainly for outlining and the finishing of gold work.  Outlining is normally applied after most parts of the design have been worked, but in the case of the centre, where I will be filling it with chip work, the outline is applied first, and then the centre can be filled.

I used No.1 Gilt Pearl purl, and started the circle from the bottom middle - a good tip if ever working lettering.  However, this logo of mine, is symmetrical, and therefore does not have a top or bottom as such.


Sunday, 22 December 2013

Logo - part three . . .

soft string padding complete ready for the gold cut work
gold cut work - gilt smooth purl; gilt bright check purl, at an angle
worked with a No.10 crewel embroidery needle

gold cut work from the top!

So, here you can see how I do the cut work.  I don't start right at the end, but a little way in, or the centre to get a good angle on the cut work.  These gold or gilt purls are spirals of wire, which bend, and enable the needle and thread to pass through the middle.  I can work this technique quite quickly now with the years of experience I have behind me, although it can be a tricky technique, because these purl threads can fracture and damage easily.

The actual size of this silk and gold cross is about 1½ inches wide, so the images are quite magnified!

Thursday, 19 December 2013

Logo - part two . . .

couching over paired passing thread with brick stitch
more couching

couching complete and the ends are ready for plunging
soft string padding ready for cut work

Every time I work this design, I approach it differently, shading with different colours, shading dark to light, or light to dark, working with finer threads or bolder threads. 

I used fine gold passing thread for the couching, which looks very delicate, with the whole piece worked on a linen background.


Monday, 6 May 2013

trellis work . . .

the start of the trellis
measuring from all angles
holding down the trellis at the cross over
inserting the filling
I started working on the trellis late one evening, hence the mood of the images.  However, there is more to show in detail during daytime in the next posting . . .

Wednesday, 1 May 2013

seeding and block shading

seeding with needle action - part 1
seeding with needle action - part 2
seeding complete with Bayeux stitch
block shading over split stitch - stage 1
block shading over split stitch - stage 2
block shading complete!
Seeding - I had worked the seeding previously all over the leaves - then, when I read Nikki's instructions - I realised it only needed to be around the edge of the leaves, which I preferred - so I started again!

Block shading - This stitch is worked similar to long and short shading, except, on the second row, each stitch is worked in line next to one another, so that bands or blocks of shading are created!

P.S. - I have now actually finished this whole project, but I have decided to spread my posts over the coming weeks so you will still be able to follow my progress and watch this crewel work design for Nicola Jarvis's exhibition grow!


Friday, 5 April 2013

Lindisfarne Gospel using burden stitch

work in progress

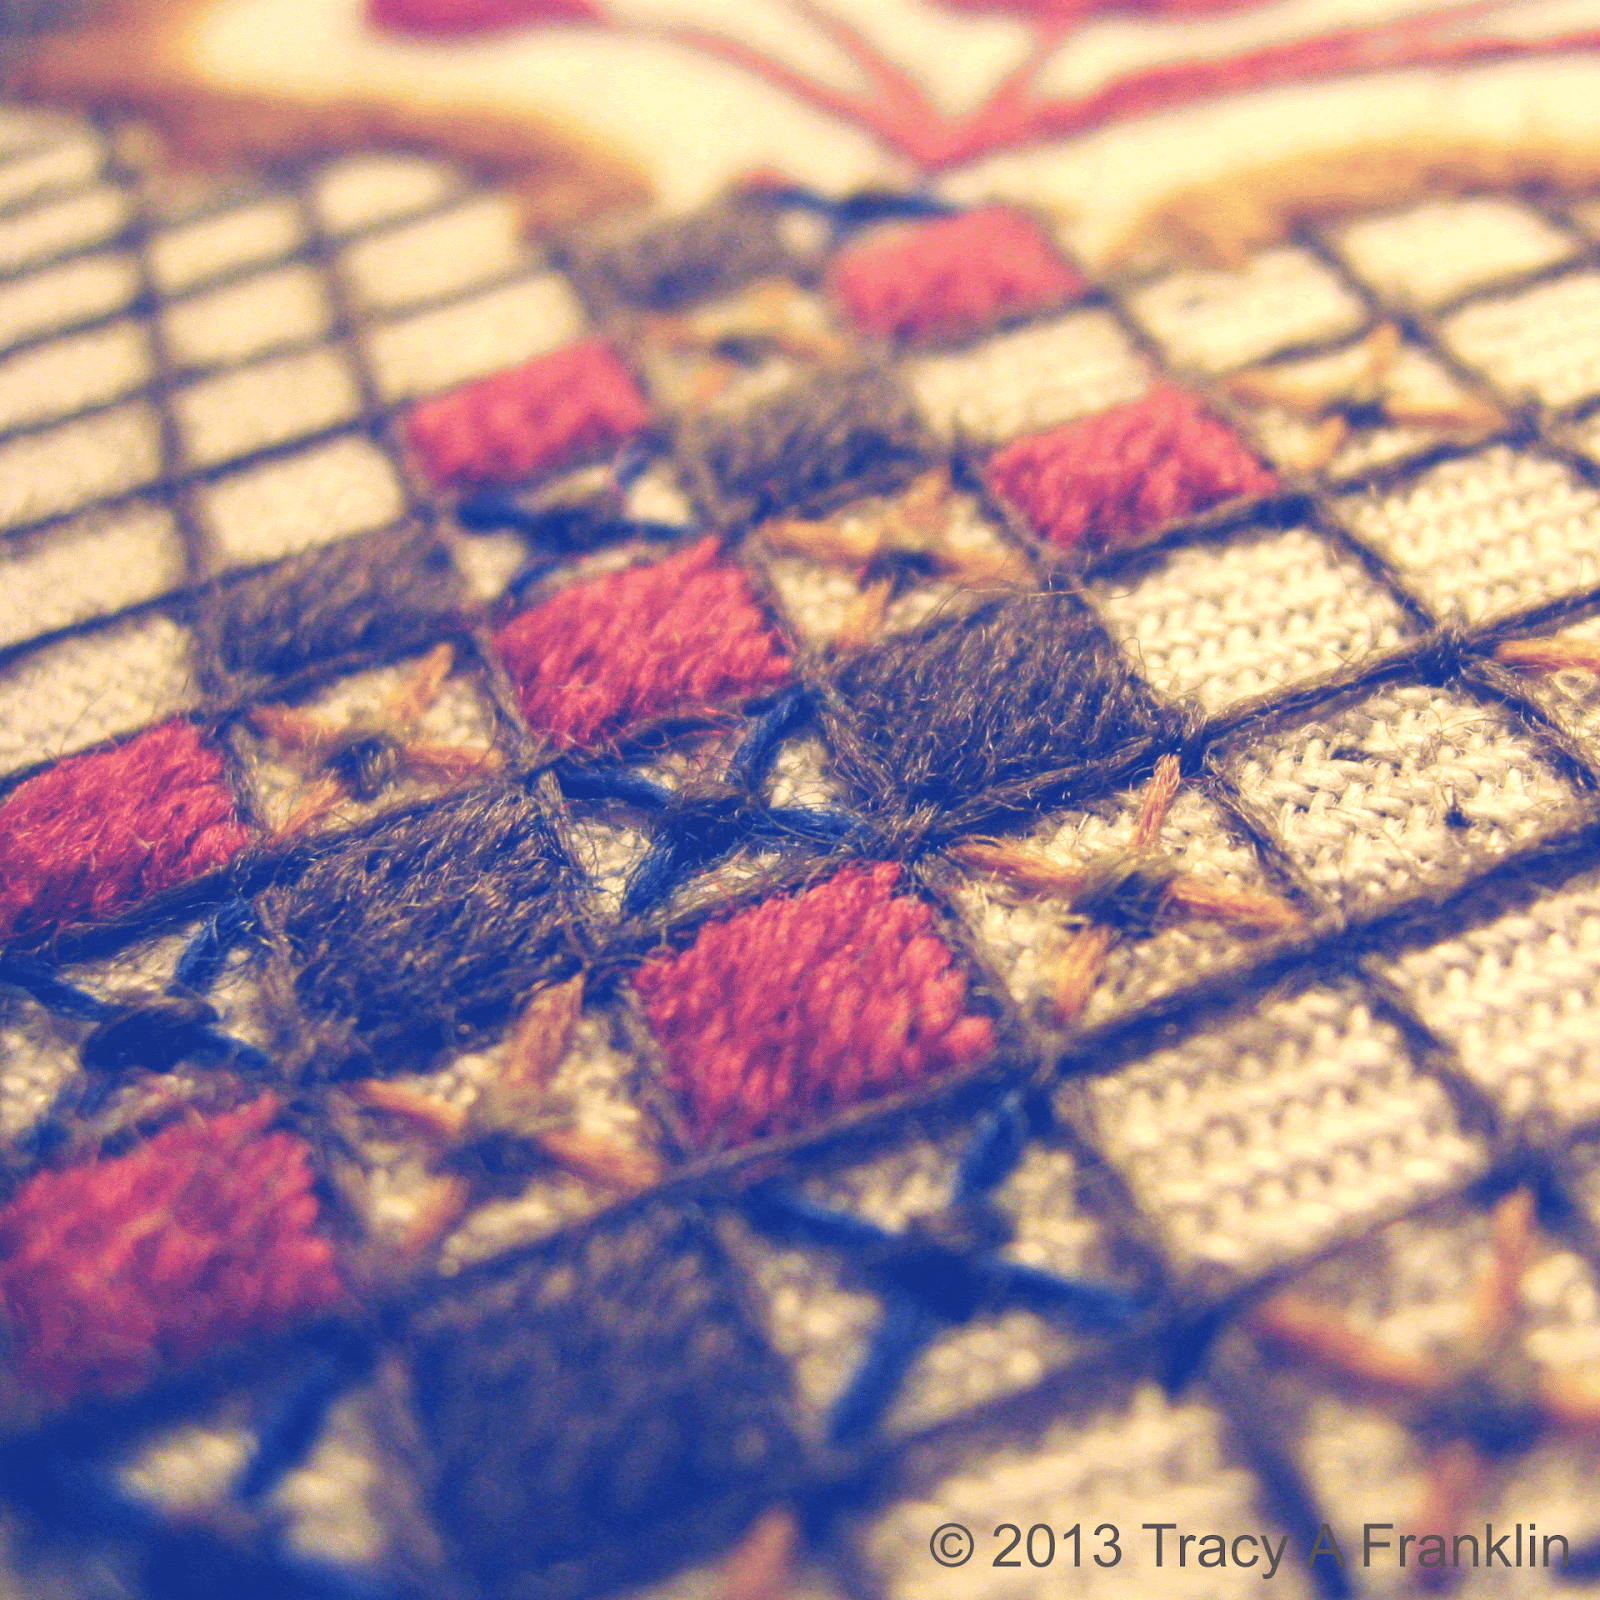
detail of stitch and the working needle

burden stitch
I have continued a little progress with my piece for the North East Embroiderers' Guild regional exhibition celebrating the Lindisfarne Gospels coming to Durham city this summer.  I decided to work burden stitch which has a weaving quality about it and thought it worked quite well.  I used some old silk threads I had and outlined with gold couching.  I wanted the blue area to have a different look to the red area which is very open silk shading with curled couching. 

The exhibition will be held in Durham Cathedral from 27th May to 23th June. 


Monday, 1 April 2013

More detail and trellis work . . .

detail and trellis work

the working needle
Worked hard to almost finish the top half of the design yesterday.  The top two circles are straight forward satin stitch worked over split stitch, and were really quick to work.  The next pale green was satin stitch but I decided to trellis over it as the stitches were quite long.  Then there is the big circle which brought slight frustrations.  Nikki originally suggested velvet stitch - not being a big fan of velvet stitch although it has its place - I decided to go for the French knot option.  The French knots looked too textured when everything around it looked fairly sleek, so I decided to just trellis over it, which I am fairly happy with.  The French knots however, are so solid - that my fingers and the working needle (which has been amazing after what I have put it through) are at breaking point.  Still -  the joys of decision making!