Showing posts with label Nicola Jarvis Studio. Show all posts

Sunday, 2 June 2013

Last few images of Crewel work Acorn

front - side view
front - another side view
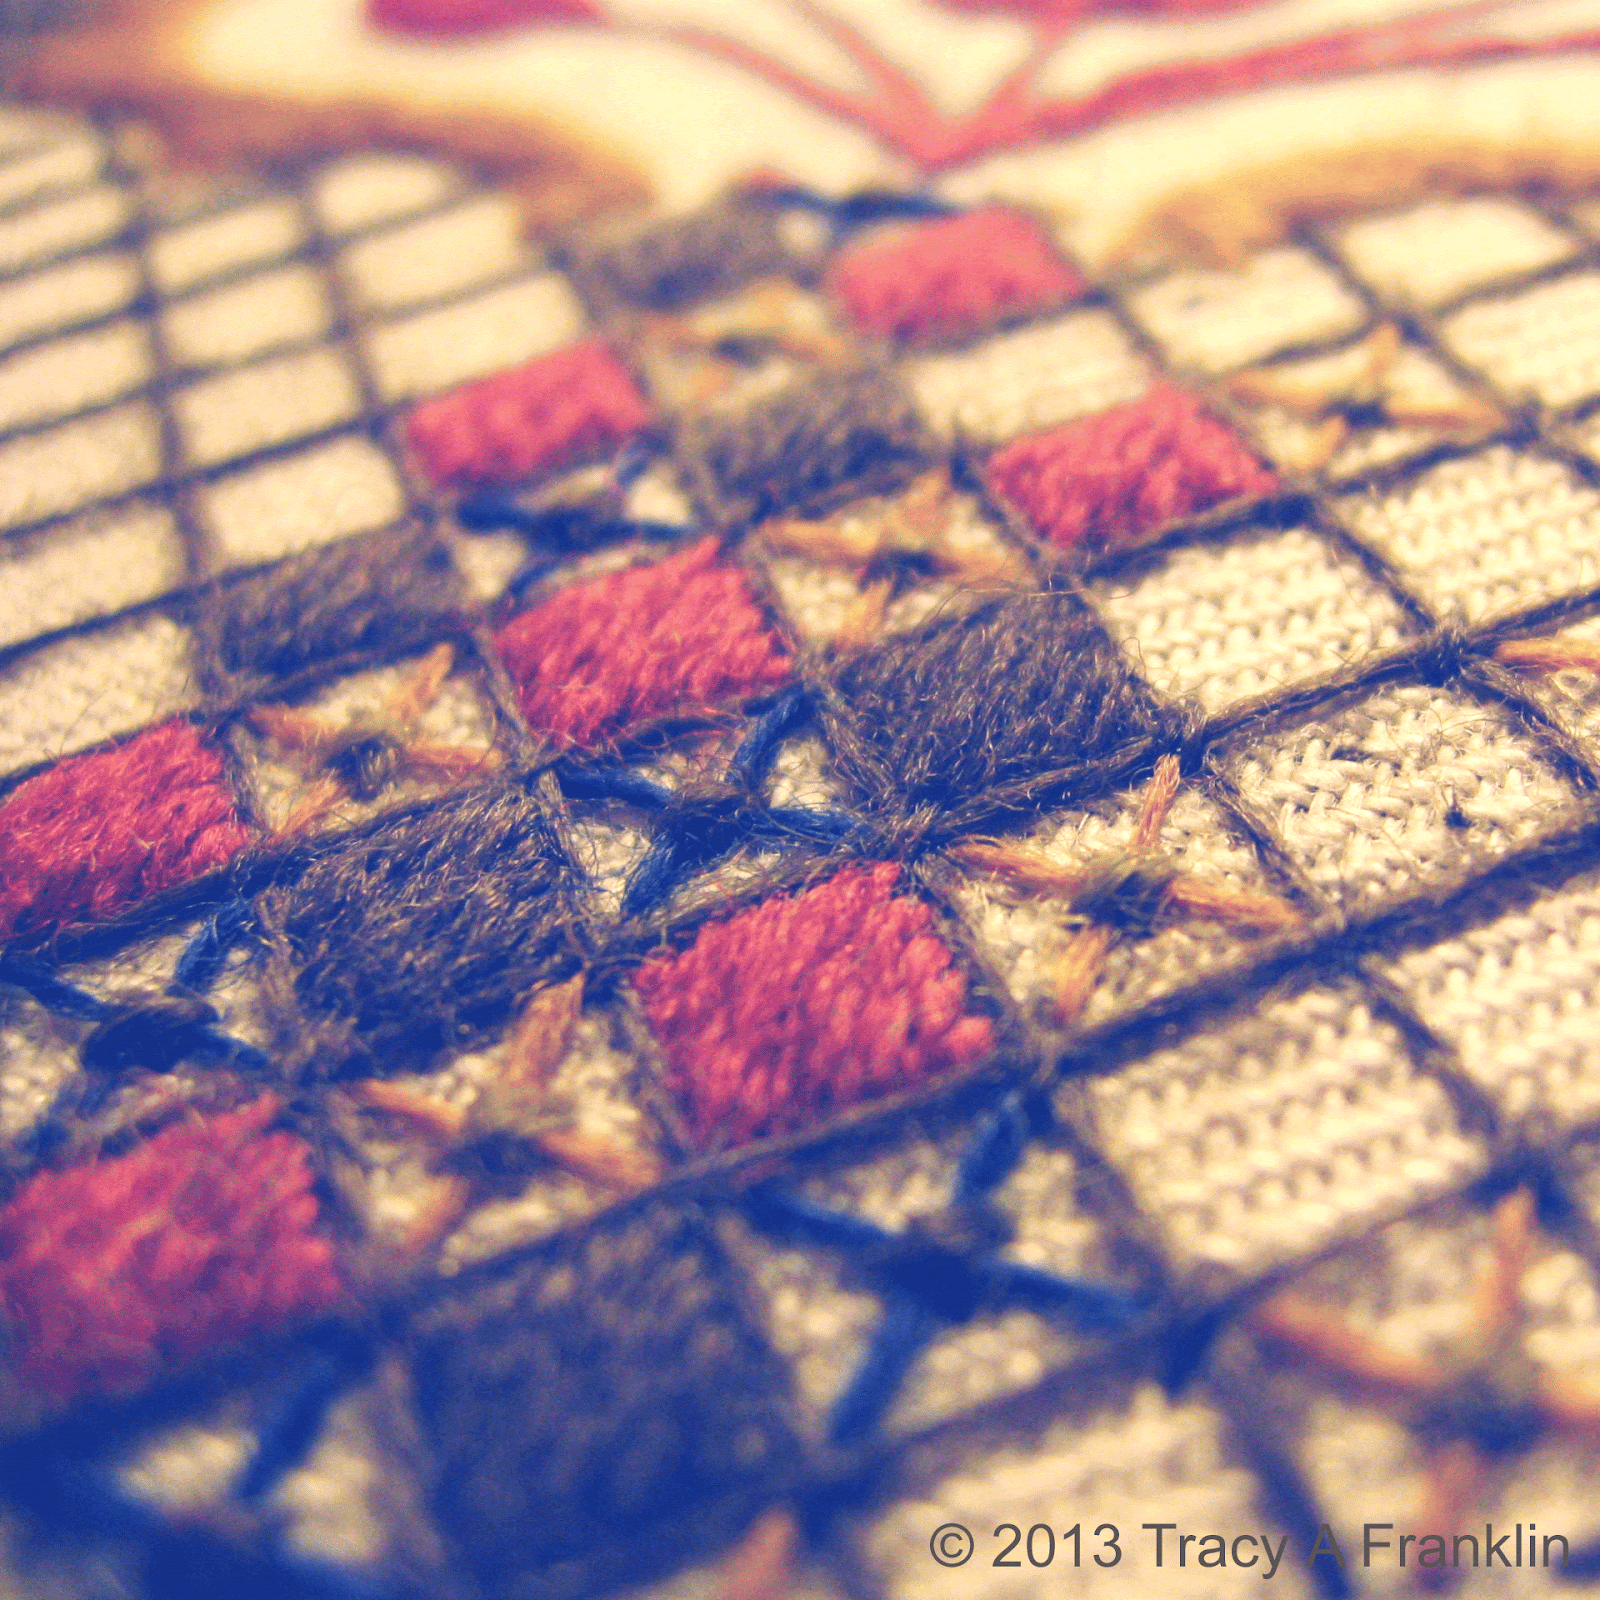
front - close view of trellis work
satin stitch and leaves
Back view of trellis work
Back view
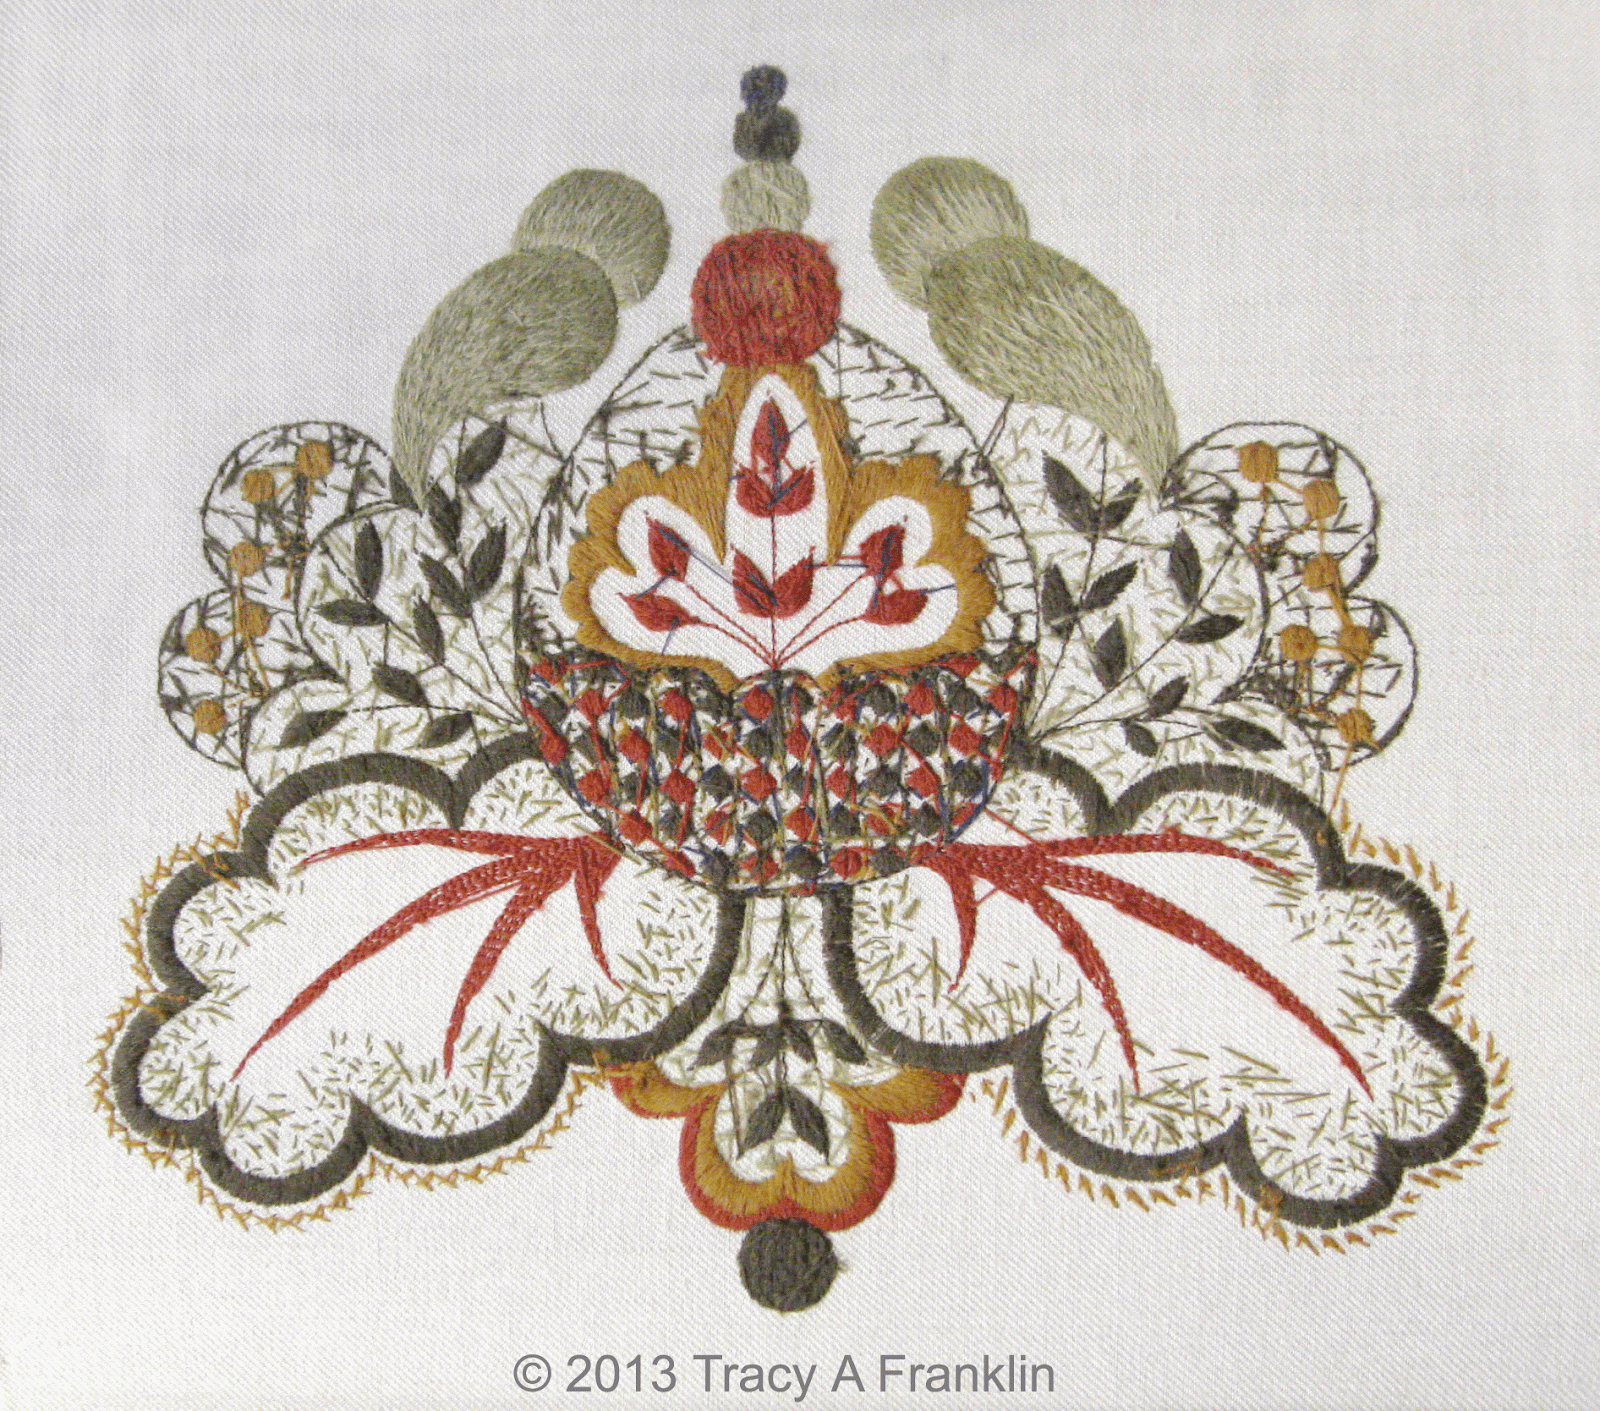
A few more shots of the crewel work acorn completed, both front and back of work.

Exhibition - A reminder of Nicola Jarvis's exhibition which runs from 6th July to 22nd September at the William Morris Gallery 

Kits - Kits of the acorn design will be available from Nicola Jarvis -  http://www.nicolajarvisstudio.com/store.html

Thank you for following this post - I have enjoyed working on this project.  If you want to see all the images from start to finish - you can now see these on Pinterest - http://pinterest.com/tracyafranklin/crewel-work-acorn/  Please LIKE the page . . .


Sunday, 26 May 2013

Crewel work - Acorn - Finished!

original design
finished and worked by Tracy A Franklin
back of work
angled shot
And finally . . . 
this is it completed, with many more images to come from different angles and perspectives.


Monday, 20 May 2013

Details . . .

final detail
this is what I call 'flicks'
finished!
The final detail is around the big leaves - a sequence of arrows in stitch.  I call this detail 'flicks', but if I am honest I may have made this up - some time ago.

So, this is it - finished!  My next post on this subject, will be the finale - the finished article, although I have many images at various angles, so there more be more than one posting.

Saturday, 11 May 2013

more trellis work . . .

finishing trellis work using straight stitch, cross stitch and satin stitch
another view
trellis work complete outlined with stem stitch
There is only one more technique of this design to show, then it will be complete!  Keep watching for the final postings . . . 


Monday, 6 May 2013

trellis work . . .

the start of the trellis
measuring from all angles
holding down the trellis at the cross over
inserting the filling
I started working on the trellis late one evening, hence the mood of the images.  However, there is more to show in detail during daytime in the next posting . . .

Saturday, 4 May 2013

crewel work continues . . .

fishbone and stem stitch

so far . . .
more detail
As I continued to work this symmetrical design - I disciplined myself to work both sides in unison as I did not want the right to be too different from the left - or vice versa. 

Wednesday, 1 May 2013

seeding and block shading

seeding with needle action - part 1
seeding with needle action - part 2
seeding complete with Bayeux stitch
block shading over split stitch - stage 1
block shading over split stitch - stage 2
block shading complete!
Seeding - I had worked the seeding previously all over the leaves - then, when I read Nikki's instructions - I realised it only needed to be around the edge of the leaves, which I preferred - so I started again!

Block shading - This stitch is worked similar to long and short shading, except, on the second row, each stitch is worked in line next to one another, so that bands or blocks of shading are created!

P.S. - I have now actually finished this whole project, but I have decided to spread my posts over the coming weeks so you will still be able to follow my progress and watch this crewel work design for Nicola Jarvis's exhibition grow!


Sunday, 28 April 2013

blanket stitch vs blanket stitch vs satin stitch

close blanket stitching - my preferred!
open blanket stitch - too open!
satin stitching with split stitch - too heavy!
My dilemma this week was - how to make the area around the outside of the big leaves work for me!  I started with Nikki's suggestion of blanket stitch.  I worked the stitch quite open - then I decided it was too open.  I then tried satin stitch as I was not keen on blanket stitch - too heavy!  So I looked at how Kathy from the unbrokenthread blog approached it.  I liked Kathy's approach -  close blanket stitch plus it is quicker than satin stitch and stronger than the open approach I started with.  Decision made - what do you think?


Thursday, 25 April 2013

Red leaf veins . . .

Red leaf veins

Stem stitch rows of stitching
Not the easiest thing to photograph - but here is the red stem stitch veins of the bigger leaves using crewel wool on linen twill.  Not the easiest stitch for this technique as the wool yarn snaps constantly with the intensity of the stitch.  However, I am quite happy with the result!

Wednesday, 10 April 2013

Berries

Berries in satin stitch, stems in stem stitch

Background Bayeux stitch
Berries now complete along with the Bayeux stitch which lays behind.  The berries are satin stitched over split stitch to give them a little lift!  On to the next bit . . . 

Monday, 1 April 2013

More detail and trellis work . . .

detail and trellis work

the working needle
Worked hard to almost finish the top half of the design yesterday.  The top two circles are straight forward satin stitch worked over split stitch, and were really quick to work.  The next pale green was satin stitch but I decided to trellis over it as the stitches were quite long.  Then there is the big circle which brought slight frustrations.  Nikki originally suggested velvet stitch - not being a big fan of velvet stitch although it has its place - I decided to go for the French knot option.  The French knots looked too textured when everything around it looked fairly sleek, so I decided to just trellis over it, which I am fairly happy with.  The French knots however, are so solid - that my fingers and the working needle (which has been amazing after what I have put it through) are at breaking point.  Still -  the joys of decision making!

Sunday, 31 March 2013

Satin stitch and detail . . .

satin stitch and some detail
left hand side show a little of the split stitch which the satin stitch is worked over
satin stitch and close detail
satin stitch and closer detail
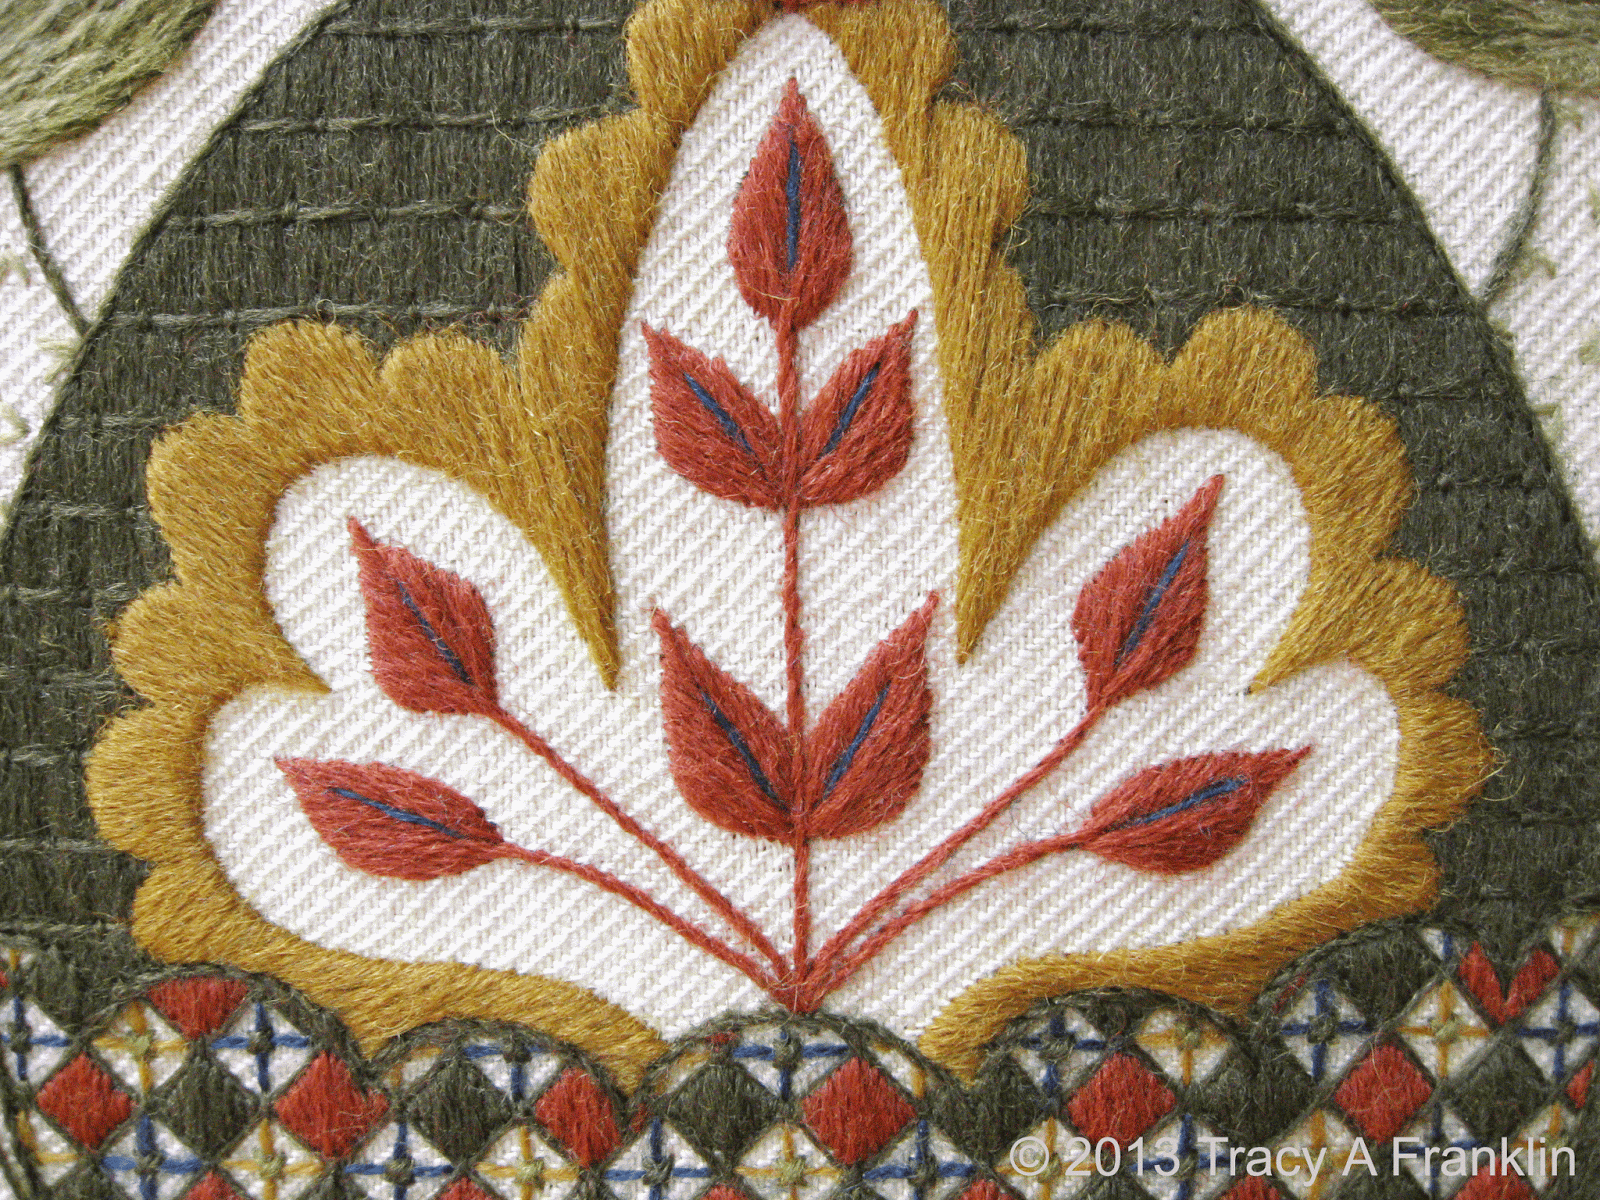
Further work on Nicola Jarvis's crewel work design with the deadline now looming!  This time I have included more detail on the small red leaves with stem stitch and a blue vein. Satin stitch worked over split stitch, almost completing that section of the design using another autumnal colour.


Sunday, 17 March 2013

crewel work progress . . .

more progress . . . 
working on more Bayeux stitch around the berries
After a heavy month or two of other work, I have now returned to the crewel work needed for Nicola Jarvis's exhibition at the William Morris Gallery - "The Art of Embroidery".  

I have worked further on the Bayeux stitch around the berries, but as yet, I have not put in the holding lines or stitches.

Sunday, 3 February 2013

Bayeux stitch


Bayeux stitch is a form of couching where the crewel wool is laid down first of all to cover the ground fabric completely. Further lines of crewel wool are laid over the top spaced apart at right angles and then couched to hold everything into place.  

Tip - Draw parallel lines on your fabric to keep the laid work parallel as it is easy to stray.

symmetrical design . . .

progress so far
My working frame showing the symmetrical design, trying to balance every stitch on both the left and right hand sides.  It is really easy to have seeding on one side worked closer together or bigger than the other.  Difficult . . .

© 2012 Nicola Jarvis Studio
A section of Nicola's design from which I am working from and The Unbroken Thread blog ~ see Kathy's progress too . . .

Sunday, 27 January 2013

long and short in crewel wool . . .

shading using one strand of crewel wool and stem stitch for the leaves
long and short shading detail
Working one colour into another by shading can be quite tricky as the shading can look 'banded'.  To over come this, which takes a little experience, the second colour is introduced gradually, and 'feathered' in, whilst the first colour gradually disappears as shading continues.  On top of this, there is direction to cope with, as the shape expands outwards then curves back in.  However, it is such a pleasure to be stitching on lovely Scottish woven linen twill.

Kathy 'The Unbroken Thread' Andrews - is working the same design for Nicola Jarvis for her forthcoming exhibition which will be later in the year at the William Morris Gallery.  Dates will be issued in future posts.

Sunday, 20 January 2013

next stage . . .

long and short, seeding and fishbone stitch

Slowly coming together - showing V-seeding, ordinary seeding, fishbone stitch for the small leaves, and more long and short shading . . .