 |
| Split stitch |
 |
| First stitch, up and over split stitch at the very top tip |
 |
| Long and short at tip, which is swivelled at the base |
 |
| Long and short edge, or rather longer and shorter |
 |
| First row of long and short (longer and shorter). When taking the needle down over the split stitch, keep the stitches very close and tight together. This keeps a sharp clean edge. |
 |
| First row, over split stitch with the angle of stitch moving around the leaf shape. Whilst working the first row, be mindful of maintaining the angle of stitch. |
 |
| Shading - bringing the needle up within the first row, and shading towards the middle |
 |
| Bring the needle up in various positions within the first row for a softer shaded effect |
 |
| Needle or stitch position of second row, or shading |
 |
| Shading towards the centre of the leaf |
 |
| Shading with more colour - keep the blends compatible |
 |
| Showing various needle position for shading |
 |
| More shading and needle positioning |
 |
| More needle positioning of shading, illustrating the various positions the stitches can be placed for effective shading |
 |
| Third row, or further shading |
 |
| First half of leaf shaded |
 |
| Second half of leaf, long and short first row |
 |
| Shading from first row |
 |
| More shading |
 |
| Almost complete |
 |
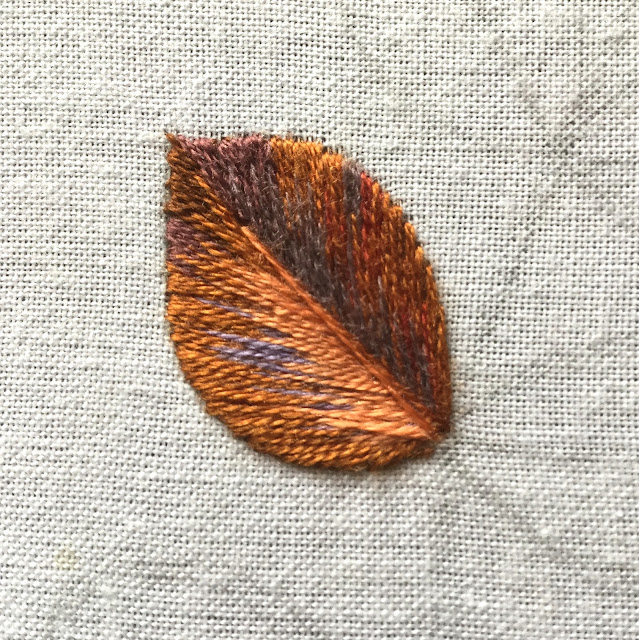
| Centre vein. The whole leaf is roughly an inch square. |

Than you Tracey. Even though I have done shading for years it’s still nice to see another way of doing it.
ReplyDelete