Wednesday, 27 December 2023


This is my gauntlet. I worked it as part of my apprenticeship at the Royal School of Needlework back in 1993, or thereabouts, sometime in my second year. It was one of the last pieces I worked where we could pretty much work whatever we wanted, so I decided on this. I wanted to work something royal, regal, opulent, theatrical, and in red and gold.


I made the glove, but not the pattern as it is a specialist craft in itself, I found a pattern I could use, hand stitched it together by hand, and added the decoration. It fits my hand.


The glove part is soft red leather which I purchased from a leather merchant somewhere in London in the 90's. I light washed it in black ink to take away the glare of the bright red, and to make it look aged. It worked really well, and of course I tested my process first.


I did intend on working a pair, but ran out of time for assessment, therefore I concentrated on completing one, but I have the workings of the other.


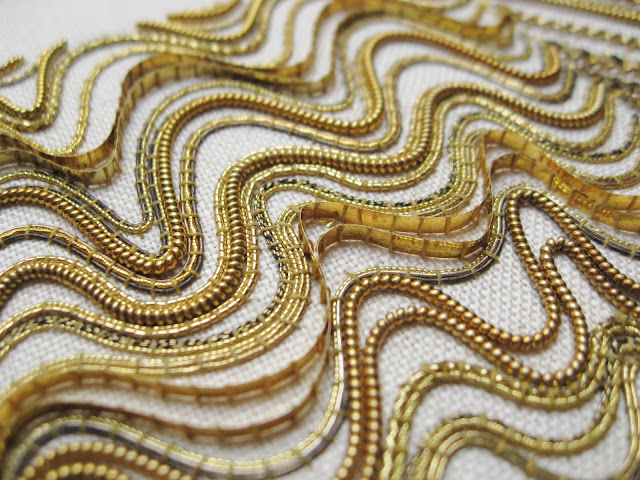
It is worked on silk, mainly using metallic threads couched over padding. The padding was a lot of work before the decoration. It has metallic kid red leather, beads, bullion knots, metallic braid, and some free-motion machine embroidery within the diamond squares. It has a little bullion, bright check purl, but mainly it is metallic thread, all hand stitched apart from the free-motion machine embroidery.


It looks as though I have used bullion throughout which are traditional metal threads, but in fact it is mainly metallic threads and braids which I could manipulate more for the design I chose. The design itself is purely decorative and drawn on a curve so that it is wider at the top and fits the glove at the bottom.


#goldwork
#goldworkembroidery
#embroidery
#handembroidery
#handembroidrred
#glove
#gauntlet
#embroiderdgauntlets
#tracyafranklin
#apprenticeship
#royalschoolofneedlework


Wednesday, 5 August 2020

A Basic Silk Shading Tutorial . . . .

Split stitch

First stitch, up and over split stitch at the very top tip

Long and short at tip, which is swivelled at the base

Long and short edge, or rather longer and shorter

First row of long and short (longer and shorter). When taking the needle down over the split stitch, keep the stitches very close and tight together.  This keeps a sharp clean edge.

First row, over split stitch with the angle of stitch moving around the leaf shape.  Whilst working the first row, be mindful of maintaining the angle of stitch.

Shading - bringing the needle up within the first row, and shading towards the middle

Bring the needle up in various positions within the first row for a softer shaded effect

Needle or stitch position of second row, or shading

Shading towards the centre of the leaf

Shading with more colour - keep the blends compatible

Showing various needle position for shading

More shading and needle positioning

More needle positioning of shading, illustrating the various positions the stitches can be placed for effective shading

Third row, or further shading

First half of leaf shaded

Second half of leaf, long and short first row

Shading from first row

More shading

Almost complete

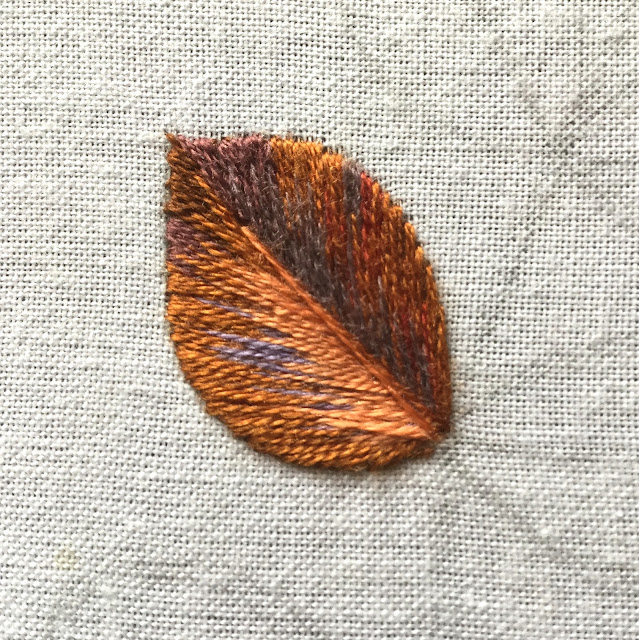
Centre vein.  The whole leaf is roughly an inch square.

Wednesday, 9 January 2019

Monday, 9 January 2017

Further shading


Working one colour into another is not as simple as stopping one colour, and then starting the next.  When I shade through colours, I would possibly have four different colours/needles working together at the same time, but I would lessen the first colour, increase the second and third, and introduce a forth, before finishing the first, and then repeat . . . 

If one colour is worked, then stopped, then the next and stopped, and so on, the shading will be striped throughout, rather than softly and gradually shaded throughout.

Blending tones of colour, the angle and length of stitch need to be considered also, especially when working around a curve.